
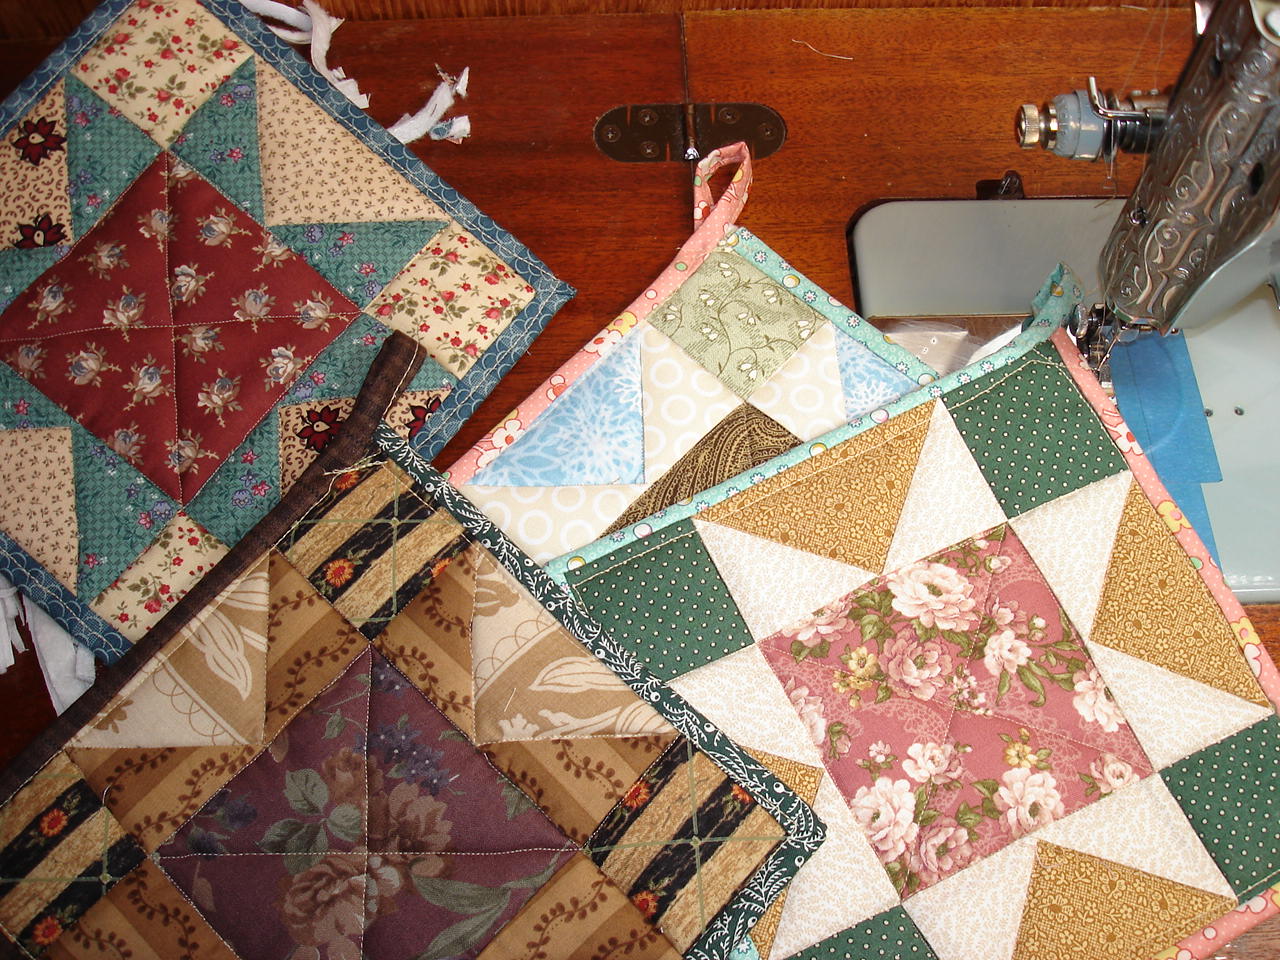
I wanted to give a proper tutorial on the machine binding of these
potholders and I took a lot of pictures for it. Here they are with the
caveats that these are POTHOLDERS, not "Art of the Western World"! LOL!
So if thread doesn't quite match and stitching shows on the front, hold your breath and remember;
1. that somebody is going to spill spaghetti sauce on them,
2. and then put them too close to the burner so that they get a scorch mark,
3. and then smear them with chocolate pudding,
4. and then wash them every week or so.
The moral is to relax and have fun making these while you get in some practice at machine binding!
(Text is below for the corresponding picture.)
 On
your 2 1/2" ironed-in-half prepared binding, fold over a little of the
raw edge on the end and finger press it, then refold the binding shut.
On
your 2 1/2" ironed-in-half prepared binding, fold over a little of the
raw edge on the end and finger press it, then refold the binding shut.
 With scissors trim off any uneven excess batting and backing on all sides before you begin applying the binding.
 Place
the prepared binding with the folded-in end-edge right on the corner of
the right side of the potholder, with all the raw edges of everything
together towards the right, and the long fold on the left. Sew towards
the next corner with a generous 1/4" seam allowance. If you go too wide
on your seam allowance, you'll have the devil's own time when you go to
topstitch the other side.
Place
the prepared binding with the folded-in end-edge right on the corner of
the right side of the potholder, with all the raw edges of everything
together towards the right, and the long fold on the left. Sew towards
the next corner with a generous 1/4" seam allowance. If you go too wide
on your seam allowance, you'll have the devil's own time when you go to
topstitch the other side.

Stop stitching before you get to the corner and make a 45 degree angular fold off to the right. Be sure that it sits right onto the corner of the potholder and finger-press it VERY HARD!
 Next,
flip and fold the same strip backwards over towards the left, such that
there is a fold along the side of the corner and the raw edges line up
along the bottom edge. Again, finger-press this little fold VERY HARD.
Next,
flip and fold the same strip backwards over towards the left, such that
there is a fold along the side of the corner and the raw edges line up
along the bottom edge. Again, finger-press this little fold VERY HARD.
You are creating a "fabric memory" here, so that the fabric will do just what you want it to do in a few moments. Now re-open those folds and continue to stitch VERY SLOWLY until you are exactly 1/4" from the edge (which you cannot really see because the binding is on top of it, but it should be right on the 45 degree angle fold line).

Now, pivot the corner of the potholder and sew BACKWARDS slowly for that 1/4" until you are just off of the fabrics. Immediately, put your machine back into forward drive so you don't forget to do that.
Lift your presser foot and gently refold all those folds you so carefully did before. Set your presser foot back down on top of it all at 1/4" away from the "new" raw edge going down the next side.

Now you just stitch through all those layers and sew your 1/4" right down towards the next corner.
Continue to repeat this process until you have all three corners done and are ready to do the last corner with the hanging loop finish.
My binding was scrappy, so do not be alarmed that the turquoise fabric changed into a peachy orange color.
 Trim
off the excess end of the binding at about one of your hand-widths, I'd
say about 4 1/2" to 5" from the end of the last corner.
Trim
off the excess end of the binding at about one of your hand-widths, I'd
say about 4 1/2" to 5" from the end of the last corner.
Also be sure to finger press the beginning of the binding outwards, or away from the potholder's face. In the above photo, it is the turquoise piece.
 Next,
fold in the raw edges of the very end of the cut off binding piece and
then refold it shut. Crease this well so that it doesn't act up on you
later.
Next,
fold in the raw edges of the very end of the cut off binding piece and
then refold it shut. Crease this well so that it doesn't act up on you
later.

Now this is a little nerve-wracking to describe, but bend the raw edge of the binding inwards, or to the left, by about one third, and at the same time, flip the long folded edge of the binding over on top of the raw edge that you just folded inwards.

Yes, this is most definitely a little fiddly! But take your time! Get it all the way you want it to be and then stitch slowly right down along the top of the fold to the end.

Notice that as you went along, you have stitched right off of the potholder. Take a back stitch or three to secure the very end of the hanging loop and cut your threads.
Whew! You got it all applied, now it's time to flip the whole thing over!

Take the time to pin the two ends of the binding, the beginning end, here in turquoise, and the last end of the binding with the loop on it, here in peachy orange. I never pin anything, but trust me here!

Now you are ready to fold the long piece of the loop and place it over all those funny-looking ends and edges to cover them up!
 Set
your needle onto the beginning edge, (turquoise) and stitch an angle
across the corner to secure the end of the hanging loop. As you go,
pivot a bit to sew down onto the side (peachy orange), to topstitch the
whole thing, removing pins as you go.
Set
your needle onto the beginning edge, (turquoise) and stitch an angle
across the corner to secure the end of the hanging loop. As you go,
pivot a bit to sew down onto the side (peachy orange), to topstitch the
whole thing, removing pins as you go.

When you get down to the first corner, be sure to trim ACROSS the point of the inside of the corner's miter. Be certain to not cut any stitching. Then fold out the binding to form your mitered corner by pushing the raw edges to the inside of the binding.
 Here
you NEED TO PIN along the bottom edge and make sure that that edge goes
down first, so that the vertical edge is miter folded on TOP of it.
Here
you NEED TO PIN along the bottom edge and make sure that that edge goes
down first, so that the vertical edge is miter folded on TOP of it.
Stitch carefully down onto the corner and be sure to catch in the fold of the upper miter when you then pivot to continue down the next side, removing pins as you go.
In a perfect world, it shouldn't matter which dang fold goes first, but trust me, I've done it both ways and it comes out neater and better if the horizontal is folded in first and pinned, with the vertical on top.

Finish all your corners this same way, tugging the binding around to the back and smoothing it down as you go.

When you get back to the starting point, go over the tail end of the hanging loop one more time to reinforce it. There are so many layers on this that it helps to be going forwards rather than backstitching. Trim the threads and then you're DONE, baby! Congratulations!!!

I can do a complete binding around one potholder in about 15 minutes; 7 or 8 minutes per side. The first one took me twenty forevers, LOL!
 I hope that you can do your own now!
Happy sewing!
So if thread doesn't quite match and stitching shows on the front, hold your breath and remember;
1. that somebody is going to spill spaghetti sauce on them,
2. and then put them too close to the burner so that they get a scorch mark,
3. and then smear them with chocolate pudding,
4. and then wash them every week or so.
The moral is to relax and have fun making these while you get in some practice at machine binding!
(Text is below for the corresponding picture.)


Stop stitching before you get to the corner and make a 45 degree angular fold off to the right. Be sure that it sits right onto the corner of the potholder and finger-press it VERY HARD!

You are creating a "fabric memory" here, so that the fabric will do just what you want it to do in a few moments. Now re-open those folds and continue to stitch VERY SLOWLY until you are exactly 1/4" from the edge (which you cannot really see because the binding is on top of it, but it should be right on the 45 degree angle fold line).

Now, pivot the corner of the potholder and sew BACKWARDS slowly for that 1/4" until you are just off of the fabrics. Immediately, put your machine back into forward drive so you don't forget to do that.
Lift your presser foot and gently refold all those folds you so carefully did before. Set your presser foot back down on top of it all at 1/4" away from the "new" raw edge going down the next side.

Now you just stitch through all those layers and sew your 1/4" right down towards the next corner.
Continue to repeat this process until you have all three corners done and are ready to do the last corner with the hanging loop finish.
My binding was scrappy, so do not be alarmed that the turquoise fabric changed into a peachy orange color.

Also be sure to finger press the beginning of the binding outwards, or away from the potholder's face. In the above photo, it is the turquoise piece.


Now this is a little nerve-wracking to describe, but bend the raw edge of the binding inwards, or to the left, by about one third, and at the same time, flip the long folded edge of the binding over on top of the raw edge that you just folded inwards.

Yes, this is most definitely a little fiddly! But take your time! Get it all the way you want it to be and then stitch slowly right down along the top of the fold to the end.

Notice that as you went along, you have stitched right off of the potholder. Take a back stitch or three to secure the very end of the hanging loop and cut your threads.
Whew! You got it all applied, now it's time to flip the whole thing over!

Take the time to pin the two ends of the binding, the beginning end, here in turquoise, and the last end of the binding with the loop on it, here in peachy orange. I never pin anything, but trust me here!

Now you are ready to fold the long piece of the loop and place it over all those funny-looking ends and edges to cover them up!


When you get down to the first corner, be sure to trim ACROSS the point of the inside of the corner's miter. Be certain to not cut any stitching. Then fold out the binding to form your mitered corner by pushing the raw edges to the inside of the binding.

Stitch carefully down onto the corner and be sure to catch in the fold of the upper miter when you then pivot to continue down the next side, removing pins as you go.
In a perfect world, it shouldn't matter which dang fold goes first, but trust me, I've done it both ways and it comes out neater and better if the horizontal is folded in first and pinned, with the vertical on top.

Finish all your corners this same way, tugging the binding around to the back and smoothing it down as you go.

When you get back to the starting point, go over the tail end of the hanging loop one more time to reinforce it. There are so many layers on this that it helps to be going forwards rather than backstitching. Trim the threads and then you're DONE, baby! Congratulations!!!

I can do a complete binding around one potholder in about 15 minutes; 7 or 8 minutes per side. The first one took me twenty forevers, LOL!
Happy sewing!

4 comments:
Thank you for doing this tutorial. We are making potholders for our guild and I wasn't looking forward to all the hand stitching. Your potholders look great!
20 forevers. LOLOLOL It sure feels like it.
Thank you for this!
Great tutorial -- thanks!!!
Post a Comment